Prior Extinction Amber Planner
Worksheet for wellbeing, territory, passive rates, and unlock targets.
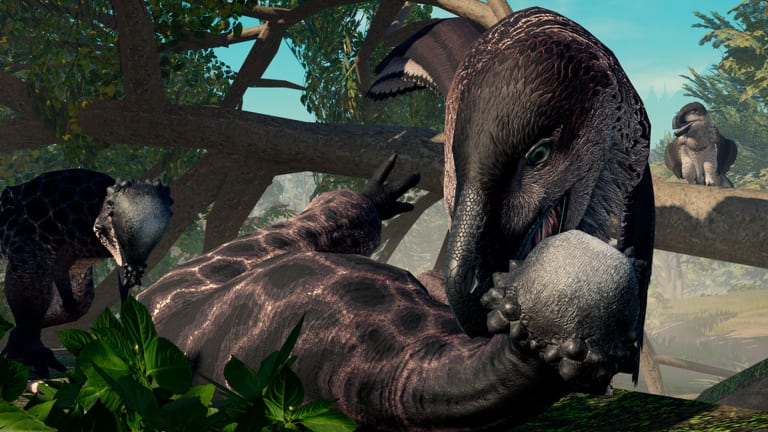
Amber is the main Prior Extinction currency for dinosaurs and many cosmetics. This planner is a markdown worksheet you can copy into notes or mentally fill while you play. It focuses on three levers players actually control: wellbeing percent impact, territory nesting (~+15% Amber concept), and species passive rates. Use it with Tools Hub, live gifts on Codes, and unlock targets from Dinosaur Roster.
Prior Extinction is released on Roblox with online pack play. Grinding Amber poorly is the fastest way to burn out before you ever see an apex adult. Long-neck herbivores such as Sauroposeidon historically sit at the top of community grind talk because patience plus passive income beats constant death loops.
Planner assumptions (read before numbers)
- Figures are practical models for planning, not datamined constants. When the live client disagrees, trust the client and adjust.
- Wellbeing covers the survival needs that keep growth and income healthy. Low wellbeing means you are paying time for nothing.
- Territory / nest bonuses are widely discussed as about +15% Amber when maintained. Treat that as a planning bump, not a promise in every build.
- Passive rates vary by species and sometimes by weekly boost rotations (small dinosaurs can receive temporary Amber multipliers; Kentrosaurus is a commonly cited boost example in community economy notes).
- Fossils, where available, discount dinosaur purchases—track them as cost reduction, not income.
Step 1 — write your target
Copy this block into your notes:
Target species: ____________________
Amber price (or remaining): ________
Fossil discount estimate: __________
Net Amber needed: __________________
Deadline (optional): _______________
Cross-check whether the species is beginner-friendly on Beginner Tier List or combat-facing on Combat Tier List. Buying a vanity apex with no pack plan is how net Amber needed turns into net regret.
Step 2 — wellbeing impact worksheet
Rate your typical session:
| Wellbeing state | Rough income efficiency | What to do before grinding |
|---|---|---|
| 90–100% | Full plan efficiency | Nest, then grind |
| 70–89% | Soft penalty risk | Fix food/water/stress first |
| 50–69% | Poor efficiency | Abort long AFK-adjacent plans |
| Below 50% | Emergency mode | Survive first, earn later |
Wellbeing checklist
- Food route identified for my niche
- Water access without swimming into croc death
- Stress triggers known (overcrowd, constant sprint, bad weather niches if relevant)
- Growth stage understood (baby ≠ adult tier)
- Escape path if an ambush carnivore crouches nearby
Recode ambush testing makes wellbeing and awareness the same skill: a transparent stalker after ~10 seconds in foliage will delete a distracted grinder regardless of planner math. See Recode Update.
Step 3 — territory (+15% concept)
Ask three questions before you plant a nest:
- Is this biome quiet enough for a long session?
- Can my pack or I defend it?
- Does the +15% style boost beat the death risk of nesting in a highway biome?
| Nest plan | Expected planning bump | Risk |
|---|---|---|
| Safe mid herbivore nest | Apply ~+15% to passive estimate | Low–medium |
| Contested water nest | Maybe +15% on paper, minus death tax | High |
| No nest / roaming | 0% territory bump | Medium (mobility) |
| Pack-watched nest | Best of both when friends are online | Low if staffed |
Territory is an economy tool and a PvP signal. Online multiplayer packs should assign a watch role before they treat nesting like free money.
Step 4 — species passive rate tiers
Use relative bands instead of fake exact integers:
| Passive band | Typical niches | Planner note |
|---|---|---|
| High | Long-neck grinders (Sauroposeidon class), dedicated economy herbivores | Best for long sessions |
| Mid | Mid herbivores, some tanks on boost weeks | Default beginner farm |
| Variable | Weekly boosted small dinos | Check current rotation |
| Low / unstable | Death-prone apex growth, constant PvP hotspots | Looks rich, dies poor |
Species pick prompts
- I am playing a high-passive grinder tonight
- I am playing a mid safe herbivore tonight
- I am playing a boosted small dino tonight
- I am not grinding—I am PvPing (income is incidental)
If you marked the last box, stop using grind multipliers to justify risky nests. Go fight with eyes open via Combat Tier List.
Step 5 — combine the model
Practical estimate method:
- Start from a baseline Amber-per-hour guess for your species band (high / mid / variable).
- Multiply by wellbeing efficiency (use 1.0 / 0.85 / 0.6 / 0.3 for the four wellbeing rows as planning fiction).
- Multiply by 1.15 if territory is truly active and safe.
- Divide net Amber needed by that hourly estimate for session count.
Example planning story (illustrative only): you need 50,000 net Amber. Mid passive with good wellbeing and a safe nest might feel like a steady multi-session project. The same goal on an apex baby that dies twice an hour can take “forever” even if the menu passive looks fine.
Step 6 — spend order checklist
- Redeem Codes and tick Code Checklist
- Apply fossil discounts to the dinosaur unlock if available
- Buy the playable body before Melanistic / Leucistic / Garden / Retro cosmetics
- Reserve emergency Amber for re-buys if you PvP
- Revisit Eggs and Skins only after the main is stable
- Avoid script “Amber generators”; read Scripts Hub warnings instead
Pack economy ops sheet
Pack grind biome: __________________
Nest owner: ________________________
Watch rotation: ____________________
Shared unlock target: ______________
Personal cosmetic hold: ____________
Recode ambush callouts: on / off
Online co-op turns Amber planning into logistics. One player on Gallimimus scout duty can save a Sauroposeidon hour more valuable than any fake multiplier.
When to revise the planner
- After Updates Hub posts economy or nest changes
- When Recode movement makes your old nest indefensible
- When weekly small-dino Amber boosts rotate
- When your tier-list main changes after reading Tier List Hub
- When Getting Started habits reveal you were ignoring wellbeing entirely
Related links
- Tools Hub — all planners
- Code Checklist — free Amber first
- Players Hub — what you are funding
- Guides Hub — system explainers
- Tier List Hub — whether the unlock is worth the hours
Fill the worksheets honestly. The planner cannot buff a bad nest, but it can stop you from calling a bad nest a strategy.
Frequently Asked Questions
Quick answers about Prior Extinction on Roblox.
How do I earn Amber fast in Prior Extinction?
Keep wellbeing high, nest for territory when safe, and main strong passive grinders such as long-neck herbivores. Codes add bursts; deaths erase hours.
How much does territory boost Amber?
Community planning often uses about +15% for maintained territory or nesting. Verify the live bonus in your current build after updates.
Does wellbeing really change Amber gain?
Yes in practice. Low wellbeing slows meaningful growth and income efficiency, so fix needs before long grind sessions.
Which species is best for Amber?
Long necks like Sauroposeidon are historically top grind picks. Mid herbivores are better day-one farms until you can unlock higher passives.
Should I spend Amber on skins while saving?
Not until your target dinosaur is unlocked and stable. Claim free eggs from codes, but keep paid cosmetics behind progression buys.
Is this planner exact?
No. It is a practical worksheet with relative bands. Always prefer in-game values when they differ from wiki estimates.