Prior Extinction Biomes and Map Guide
Learn the eleven-biome layout, match Temperature Wellbeing, and plan food routes for Recode Survival.
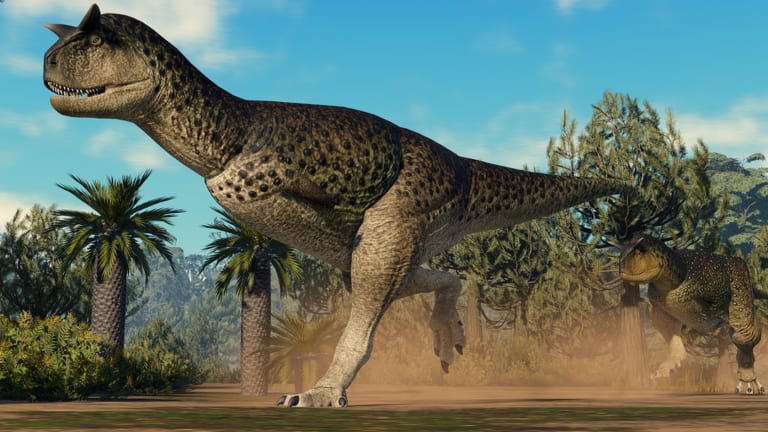
The Prior Extinction map is not a flat arena with dinosaur skins. It is a set of biomes—about eleven major habitats in the live fantasy—each with climate, plant communities, prey traffic, and gem or resource landmarks. Playing the wrong biome for your species brightens Temperature icons, shreds growth, and throws you into poorly matched combat. This guide explains how to think about biomes, summarizes major Jurassic-facing habitats players travel constantly, and links biome choice to Wellbeing, Amber, nesting, and growth.
Biomes are subsets of larger ecosystems or zones in community documentation (Jurassic, Cretaceous Uplands, Lowlands, Archipelago, Mixed/Sandbox-style spaces). Names and borders evolve with Recode map work, so use in-game Information preferences as the tie-breaker when a wiki list disagrees with your patch.
How biomes affect systems
Temperature Wellbeing is the headline. A full Temperature pillar contributes roughly +20% Amber and Growth; an empty one contributes roughly -20% and feeds the wider empty-Wellbeing spiral toward -50% totals. Nutrition depends on whether your diet actually exists here—fern specialists starve on barren coasts, pursuit carnivores waste time in empty nurseries. Sun and shade differ by canopy. Social density differs by whether the biome is a highway or a lonely crag.
Before long travel, open N, read Information, and skim Wellbeing. Before picking a nest, read nesting and ask whether babies can eat within a short, safe radius.
Major habitats you will hear called out
Exact counts stay “about eleven” because zone work continues, but players repeatedly navigate variants of:
Sequoia Forest — Tall canopy, streams, mudpits, rocky shade, and relatively calm pockets popular with growing animals. Good cover, but ambush carnivores still hunt the timber. Emerald-style landmarks are associated with forest basins in community notes.
The Coast — Steep cliffs, sparse plants, salty edges, and wide sightlines. Safer for some giant herbivores that hate ambush geometry; dangerous if your diet needs dense browse. Hematite-style landmarks pull traffic.
Coniferous Scrubland — Arid junctions, patchy shade, termite mounds, temperature swings after dark. Carnivores that like broken sightlines show up often.
Coniferous Forest — Dense diversity, slopes into wetter low areas, ponds that nurture babies, heavy plant mix, and serious predator presence at night.
Coniferous Plains — Open travel, river access, stampede space, and very little hiding. Almost everyone passes through; treat drinks as contested.
Coastal Scrubland — Transition past the coast with mixed trees, a reservoir magnet, and cooler feels during harsh sun events.
Riparian Woodlands — River-linked woods where water and browse colocate—excellent for many herbivores and therefore for the carnivores that inventory those herbivores.
Fern Savannah — Broad fern-led openness with hunting lanes and sun exposure puzzles for shade-loving species.
Mangroves — Wet, tangled, semi-aquatic stories. Footing and sightlines change; semi-aquatic threats become more relevant after Recode introductions.
Salt Flats — Harsh, exposed, specialized. Bring the right Temperature plan or do not linger.
Craglands and highland cold pockets — Elevation, colder air, fewer tourists, gem-oriented landmarks such as lava tube stories in community docs. Excellent quiet growth if your species tolerates the chill; miserable if it does not.
Other zone names you may see in older Mixed/Sandbox map talk include Redwoods, Floodplains, Swamps, Fern Prairie, and Fern Scrublands. Use them as vocabulary, then verify on your current Recode map.
Route planning for new lives
Spawn, identify your biome, and only then plan a migration. Cross-temperature suicides are common when players chase a friend ping across half the island. If Social Wellbeing needs a pack, meet in a biome both species can share rather than forcing a highland main into mangrove soup.
For Amber efficiency, live where icons stay transparent. A slightly lower base amber-per-minute dinosaur in a perfect climate can beat an apex frying on Salt Flats. See how to get Amber.
Nesting and biome choice
Nests need food throughput and defense. Forests and riparian belts supply deposits but attract raiders. Plains make defense sightlines easier and ambushes harder. Crags can hide clutches if temperature allows. Align the site with nesting role prep before stocking food.
PvP geography
Contested drinks define the meta more than abstract “best dinosaur” talk. Plains rivers, coastal magnets, and mangrove edges create predictable fights. If you are growing, pick side streams. If you are hunting, learn approach angles without skyline exposure. Pair geography with combat strategies and controls so senses and crouch exist in your hands when the biome demands them.
Resource landmarks without spoilers mania
Gems and special nodes pull players even when hunting is poor. Expect company near advertised emerald, hematite, morganite, or ruby style spots. Farm them on purpose with an exit plan, or avoid them while juvenile.
Practical biome checklist
- Read species Information preferences.
- Match Temperature before aesthetics.
- Confirm diet objects exist within a safe loop.
- Note shade/sun for the Sun pillar.
- Count predator traffic at day versus night.
- Decide nest suitability separately from adult hunting suitability.
- Reassess after each Recode map pass.
Learning path
New players should master one home biome using getting started, then unlock adjacent habitats as Temperature confidence grows. Mastery grinders should pick territories that support long Wellbeing hold quests from growth and Mastery. Explorers can rotate biomes for travel quests once death is cheap again.
The map is a Wellbeing machine first and a sightseeing tour second. Learn the eleven-biome mindset, migrate with purpose, and let climate loyalty speed every other system on this Guides Hub.
Archipelago map notes
The Archipelago expansion adds arid and Jurassic-adjacent shorelines, deep gem caves, and hotspots that spike during Prismatic seasons. Treat foggy ridges, smaller ponds with fall holes, and semi-aquatic-only underwater doors as first-class hazards—not scenery. Use this page for climate/travel logic, then open Gems and Opals plus Prismatic Event when your goal is collection rather than a quiet growth hike.
Frequently Asked Questions
Quick answers about Prior Extinction on Roblox.
How many biomes does Prior Extinction have?
Community overviews describe about eleven unique biomes on the living map, with additional zone names appearing in older Mixed or sandbox-style listings as development continues.
Why does biome choice matter so much?
Biomes drive Temperature Wellbeing, food availability, sun exposure, and PvP traffic—directly changing growth, Amber, and fight outcomes.
What is a good beginner habitat type?
Pick a biome that matches your starter’s Information preferences with nearby water and cover. Sequoia or conifer forest pockets are common learning grounds when they fit the species.
Should I nest in the most popular landmark?
Usually no. Popular gem or water landmarks draw raids. Nest where diet and temperature work and where your pack can actually defend.
Do sandbox or mixed maps use different biomes?
Community docs describe Mixed or sandbox-oriented zone lists with extra names. Survival advice here focuses on the main living map you join for Amber.
My Temperature icon stays bright—what now?
Migrate to a preferred climate rather than forcing the life. Check the Wellbeing Information tab and relocate before your Growth and Amber multipliers collapse.